Installationsguide til Aluwood Monteringsvejledning

Her finder du installationsguiden til Aluwood

A man installs black vertical Aluwood facade panels on the exterior wall of a house under construction, working carefully on a wooden deck.

You will need this:

To install the panels, you'll need the following:

  • Aluwood panels (240 x 45,1 x 3,3 cm)
  • Wind barrier
  • Clamp
  • Ventilation battens (for wind barrier)
  • Battens (max c.t.c. 80 cm)
  • Circular saw
  • Electric screwdriver
  • Screws for mounting the panels and securing the battens to the wall:
    – Screws for the inner side, clamps, and battens (4.8 x 35 mm)
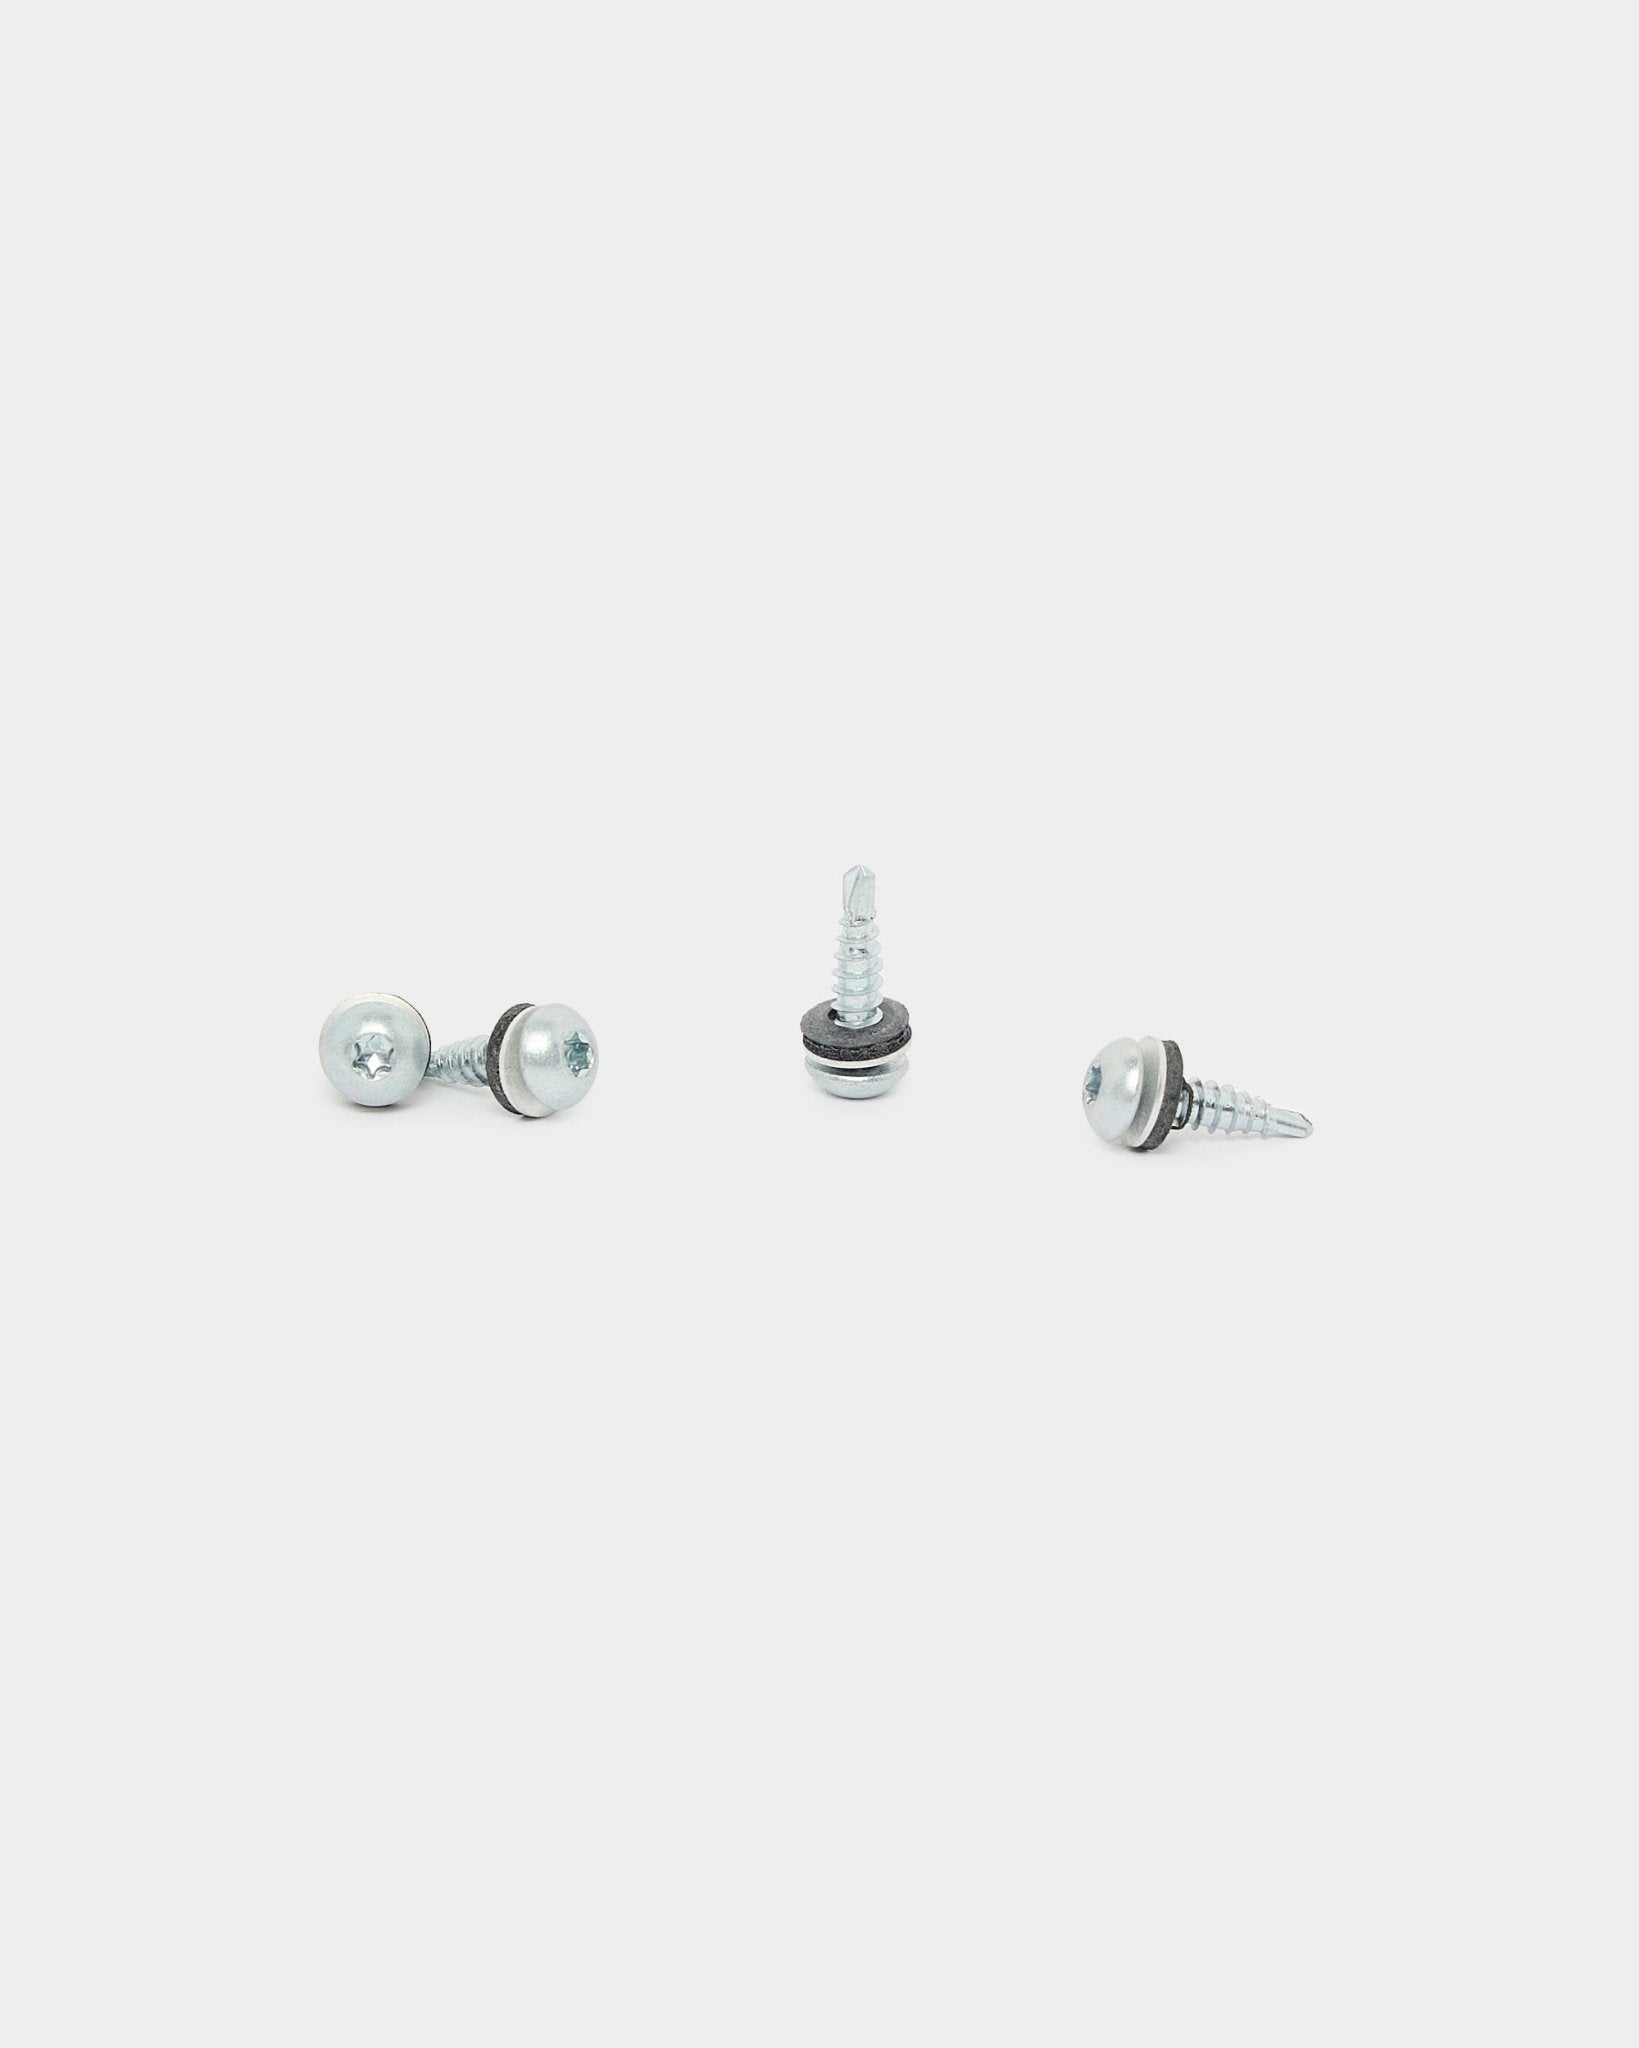
    – Screws for inner and outer side, for mounting the panel (4.8 x 19 mm)
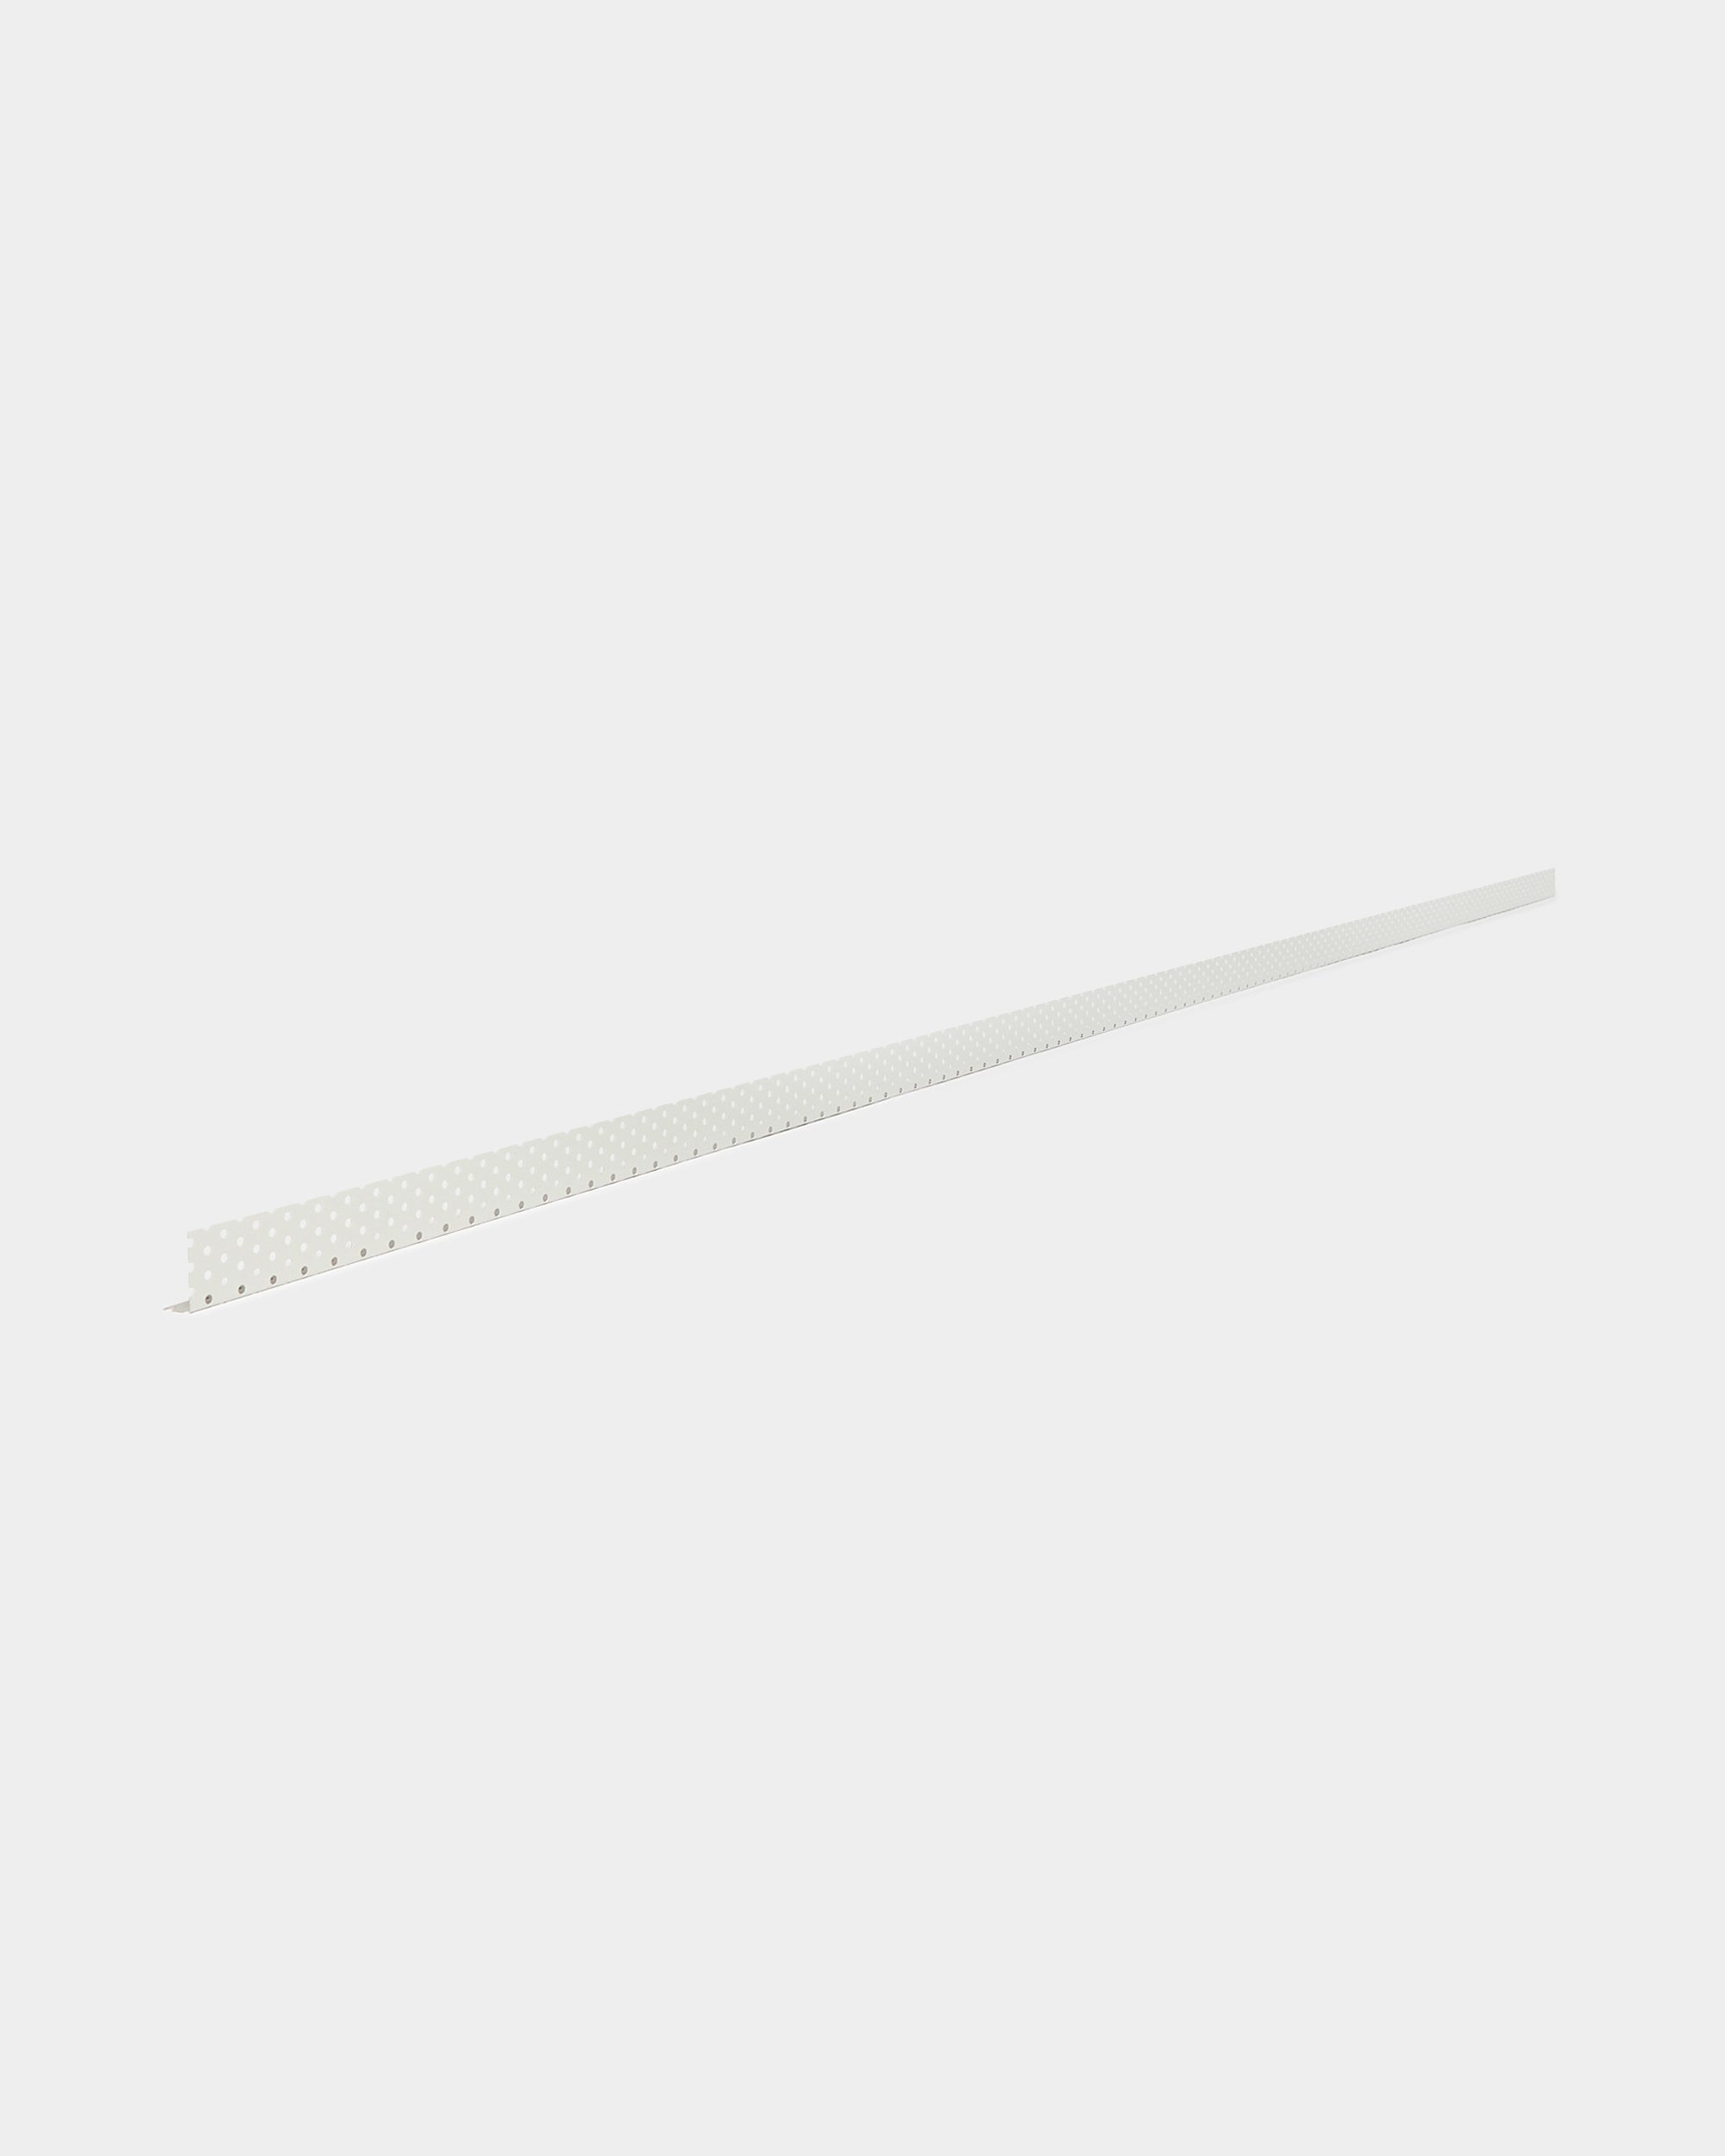
  • Insect screen (1800 mm)
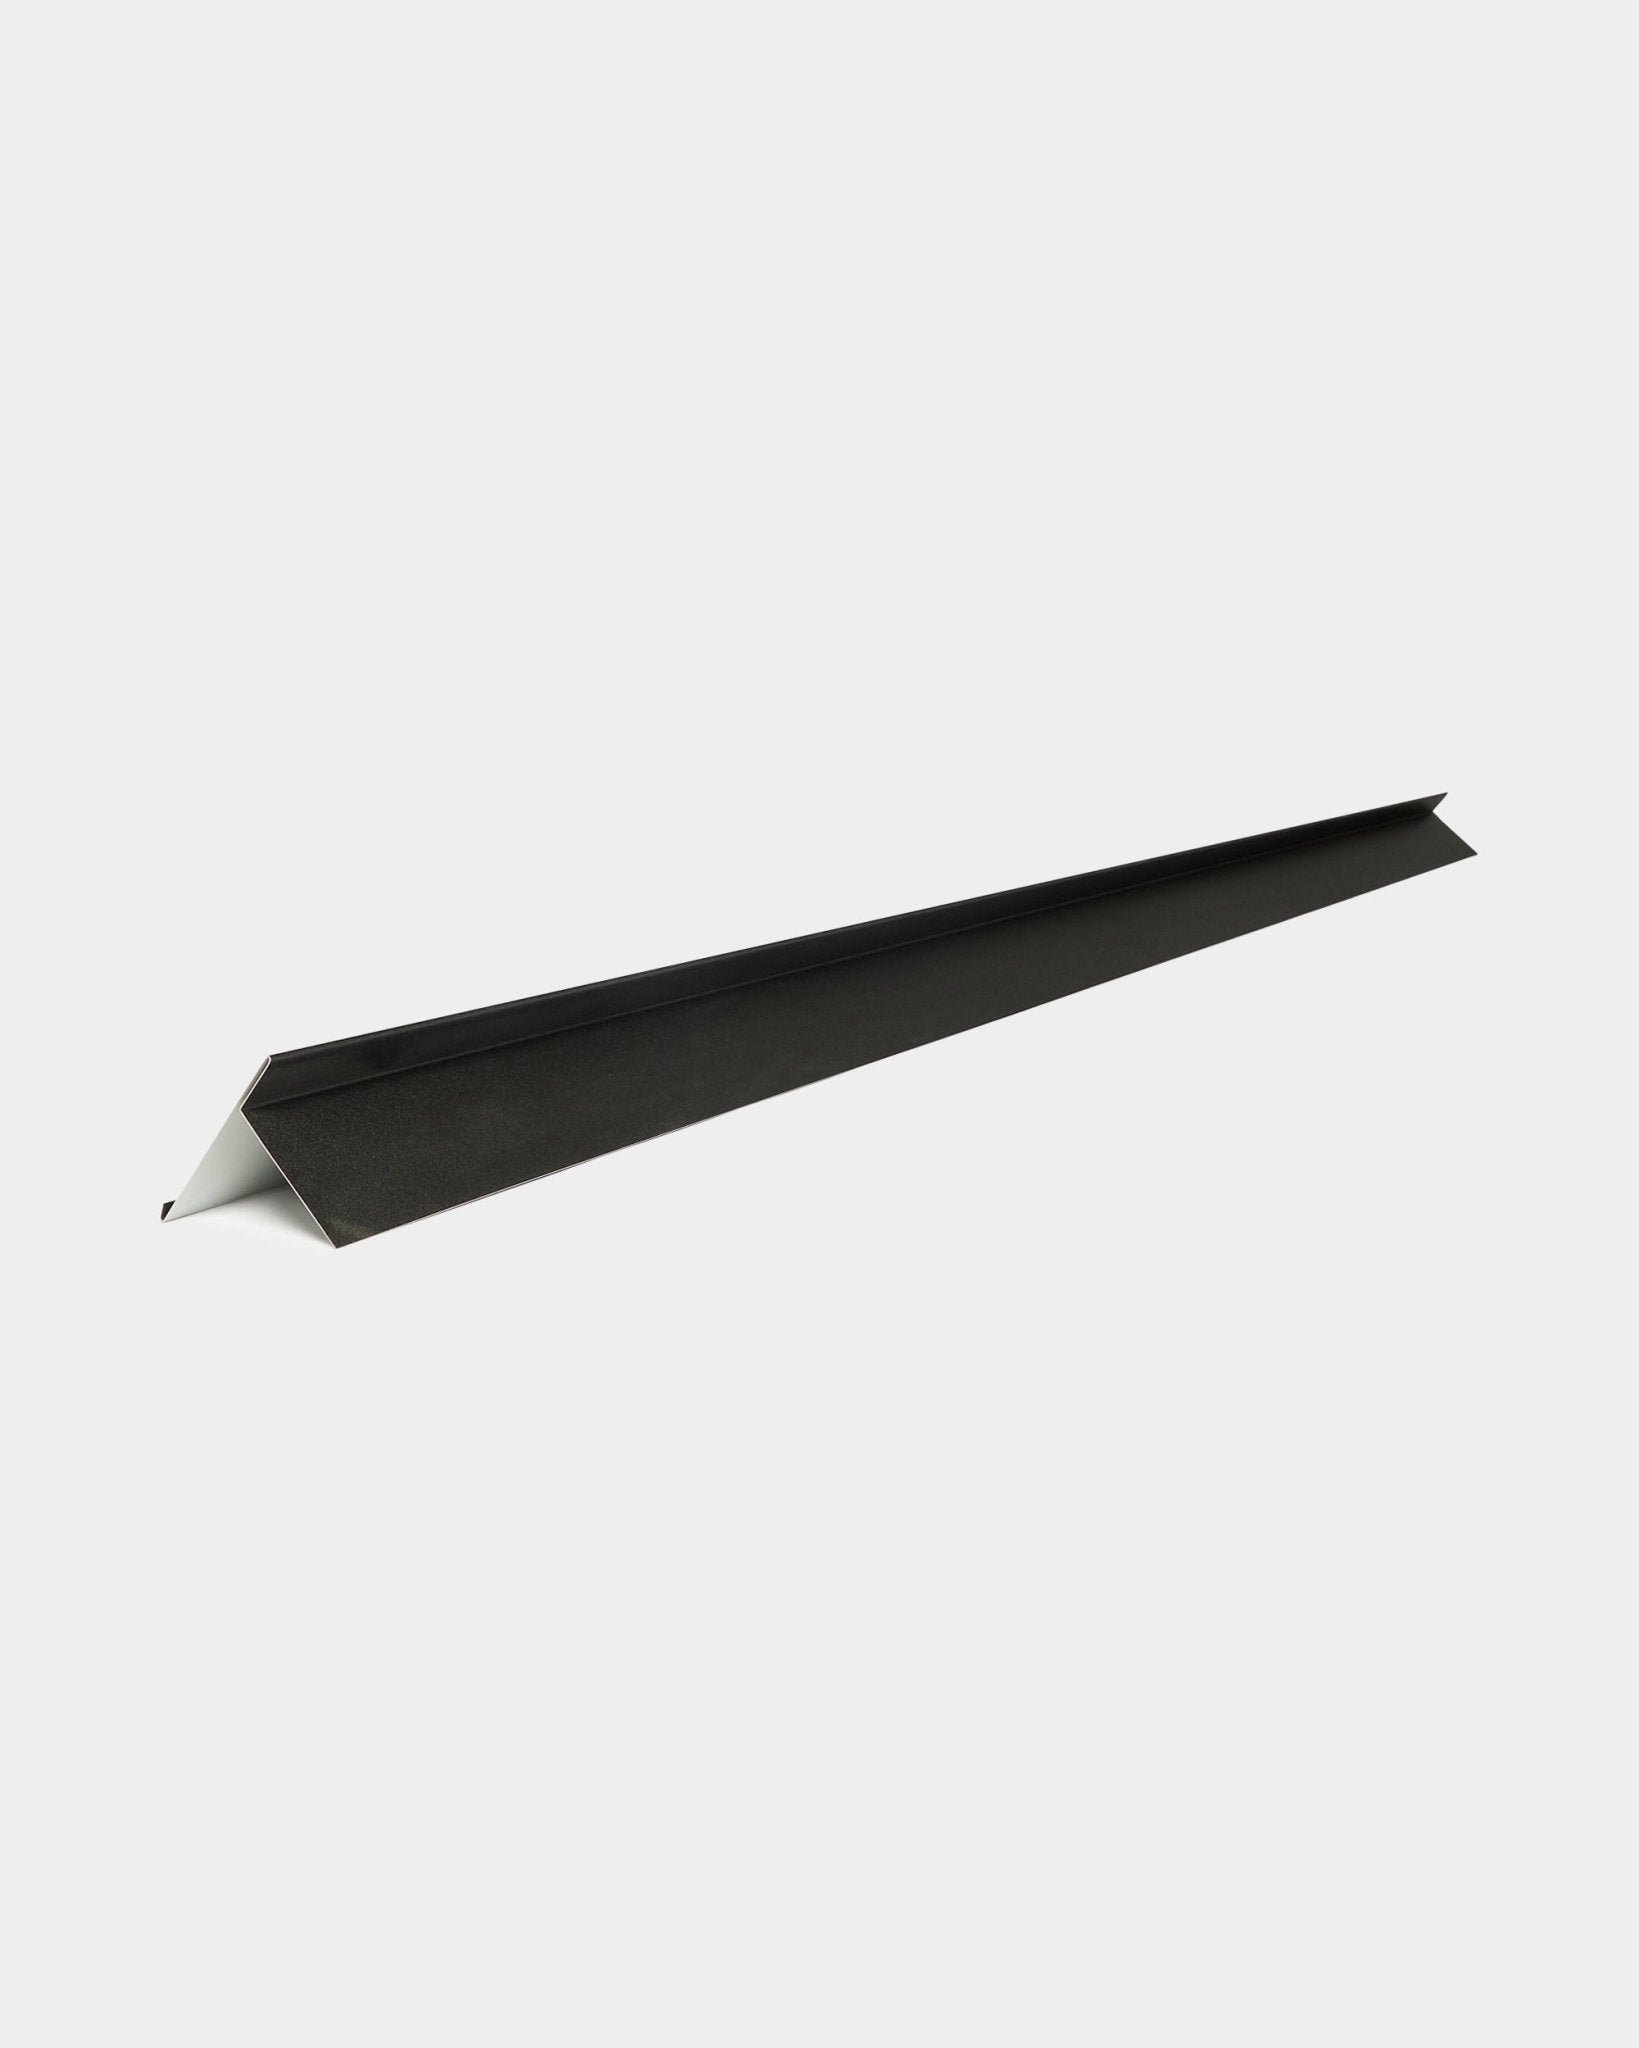
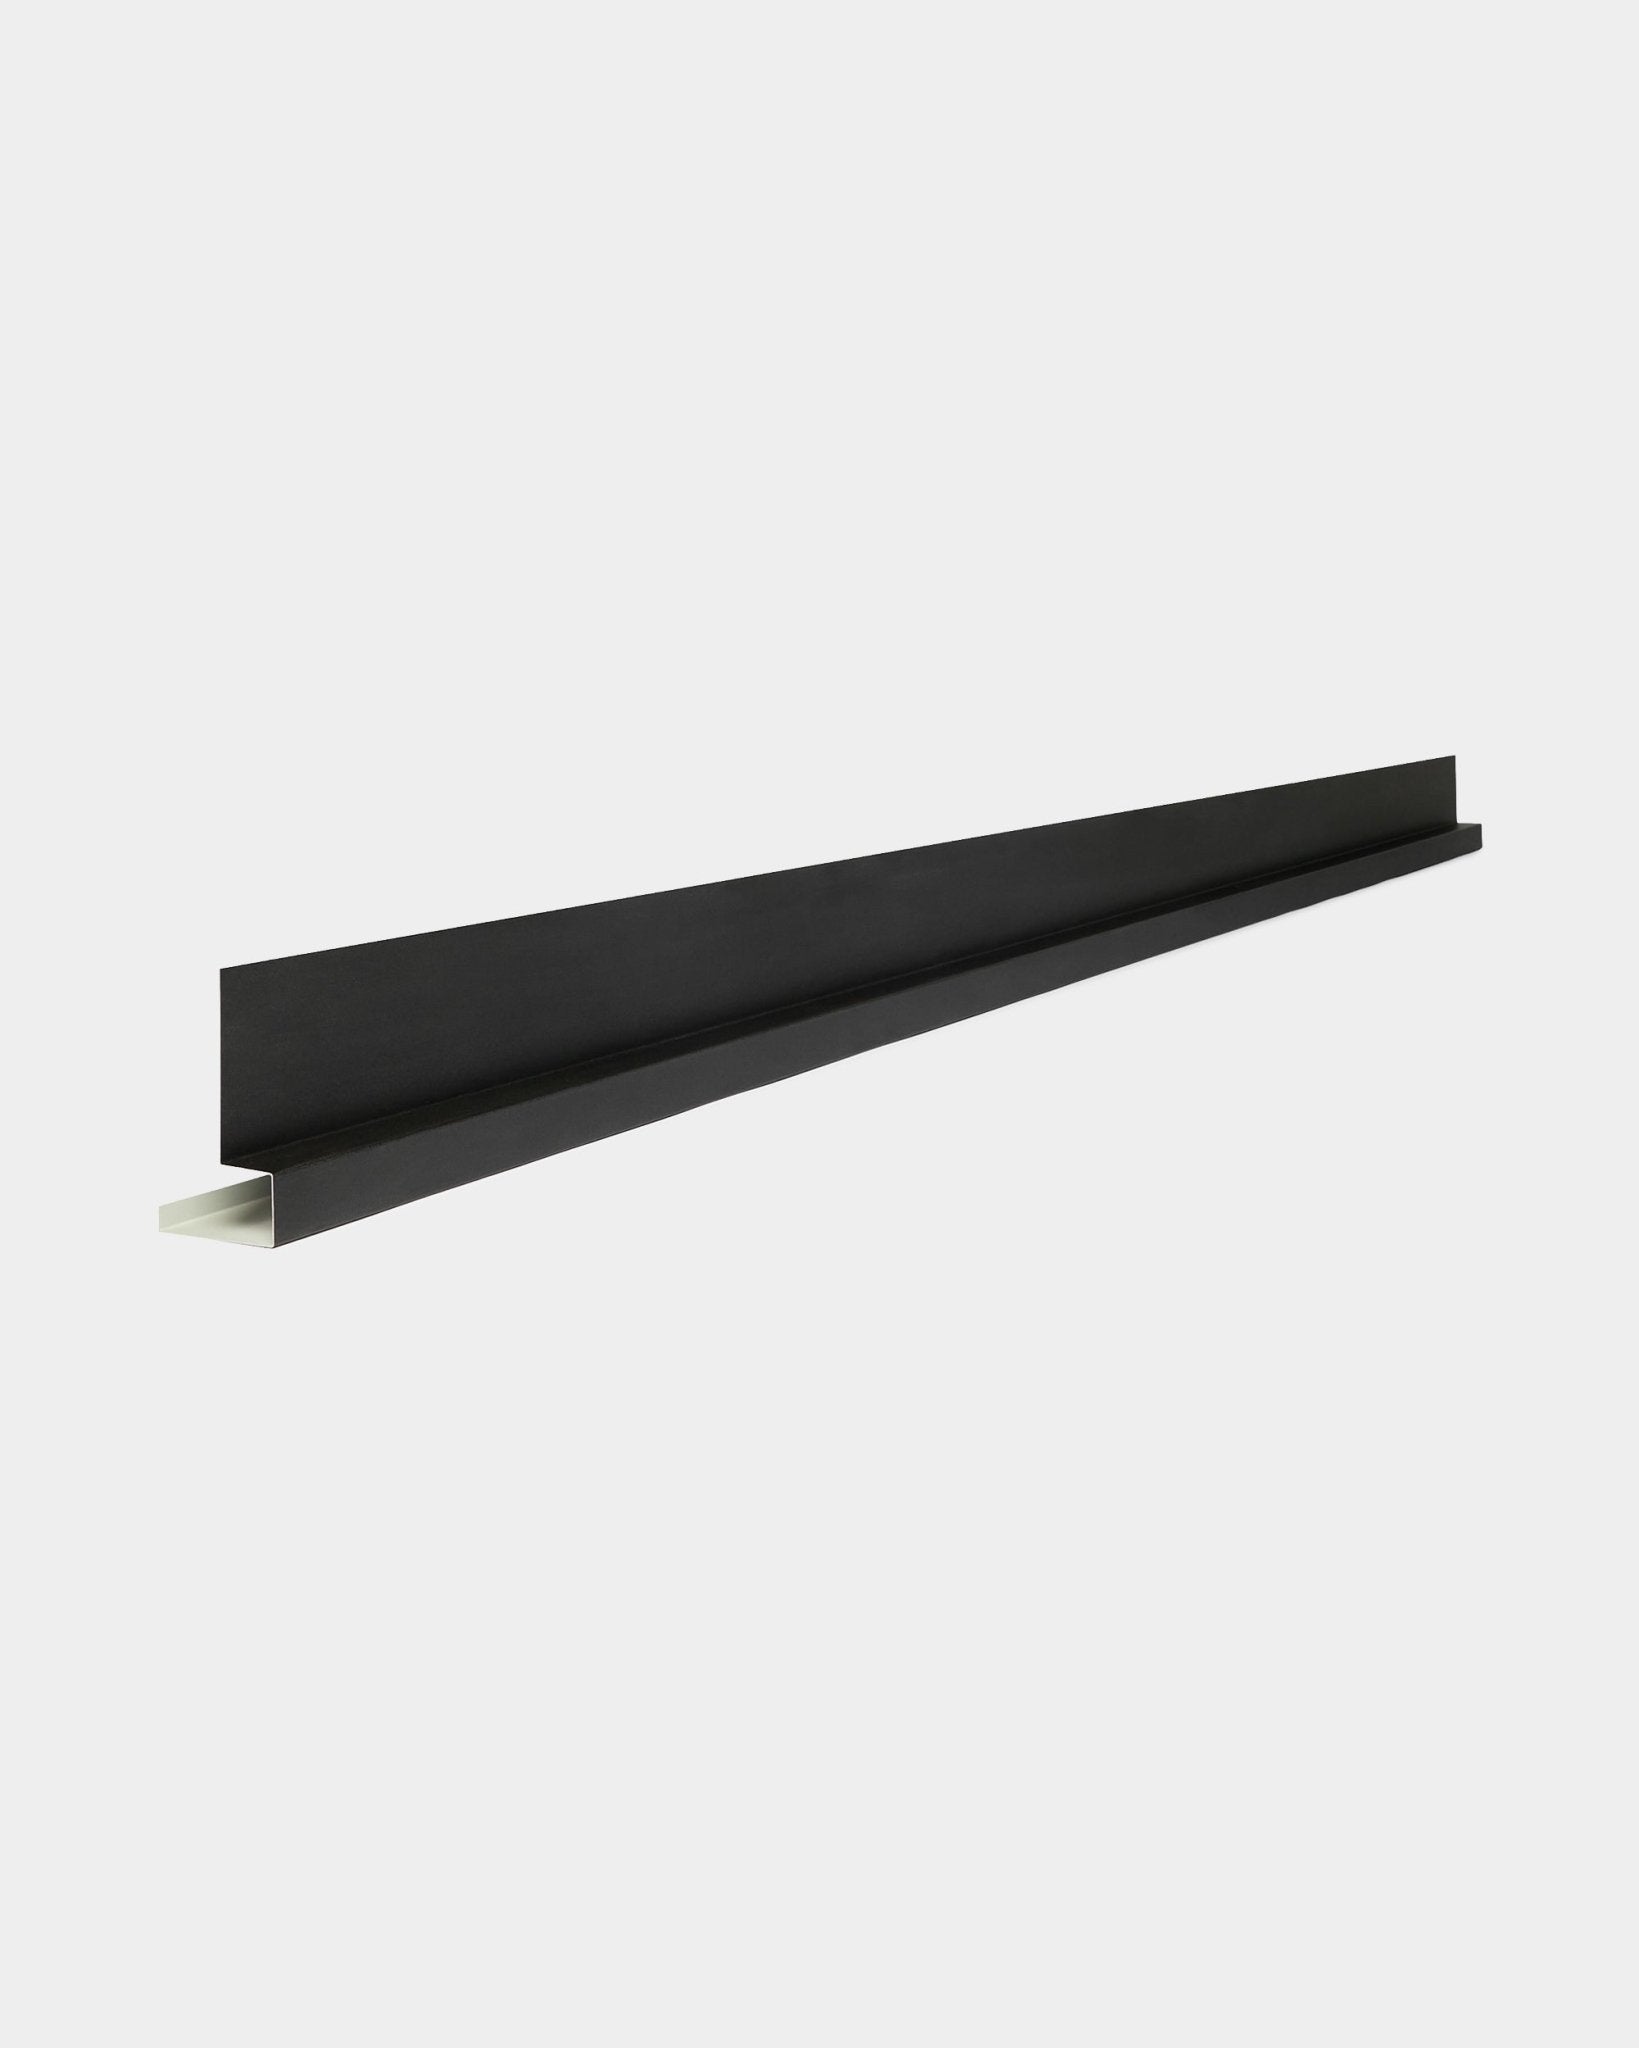
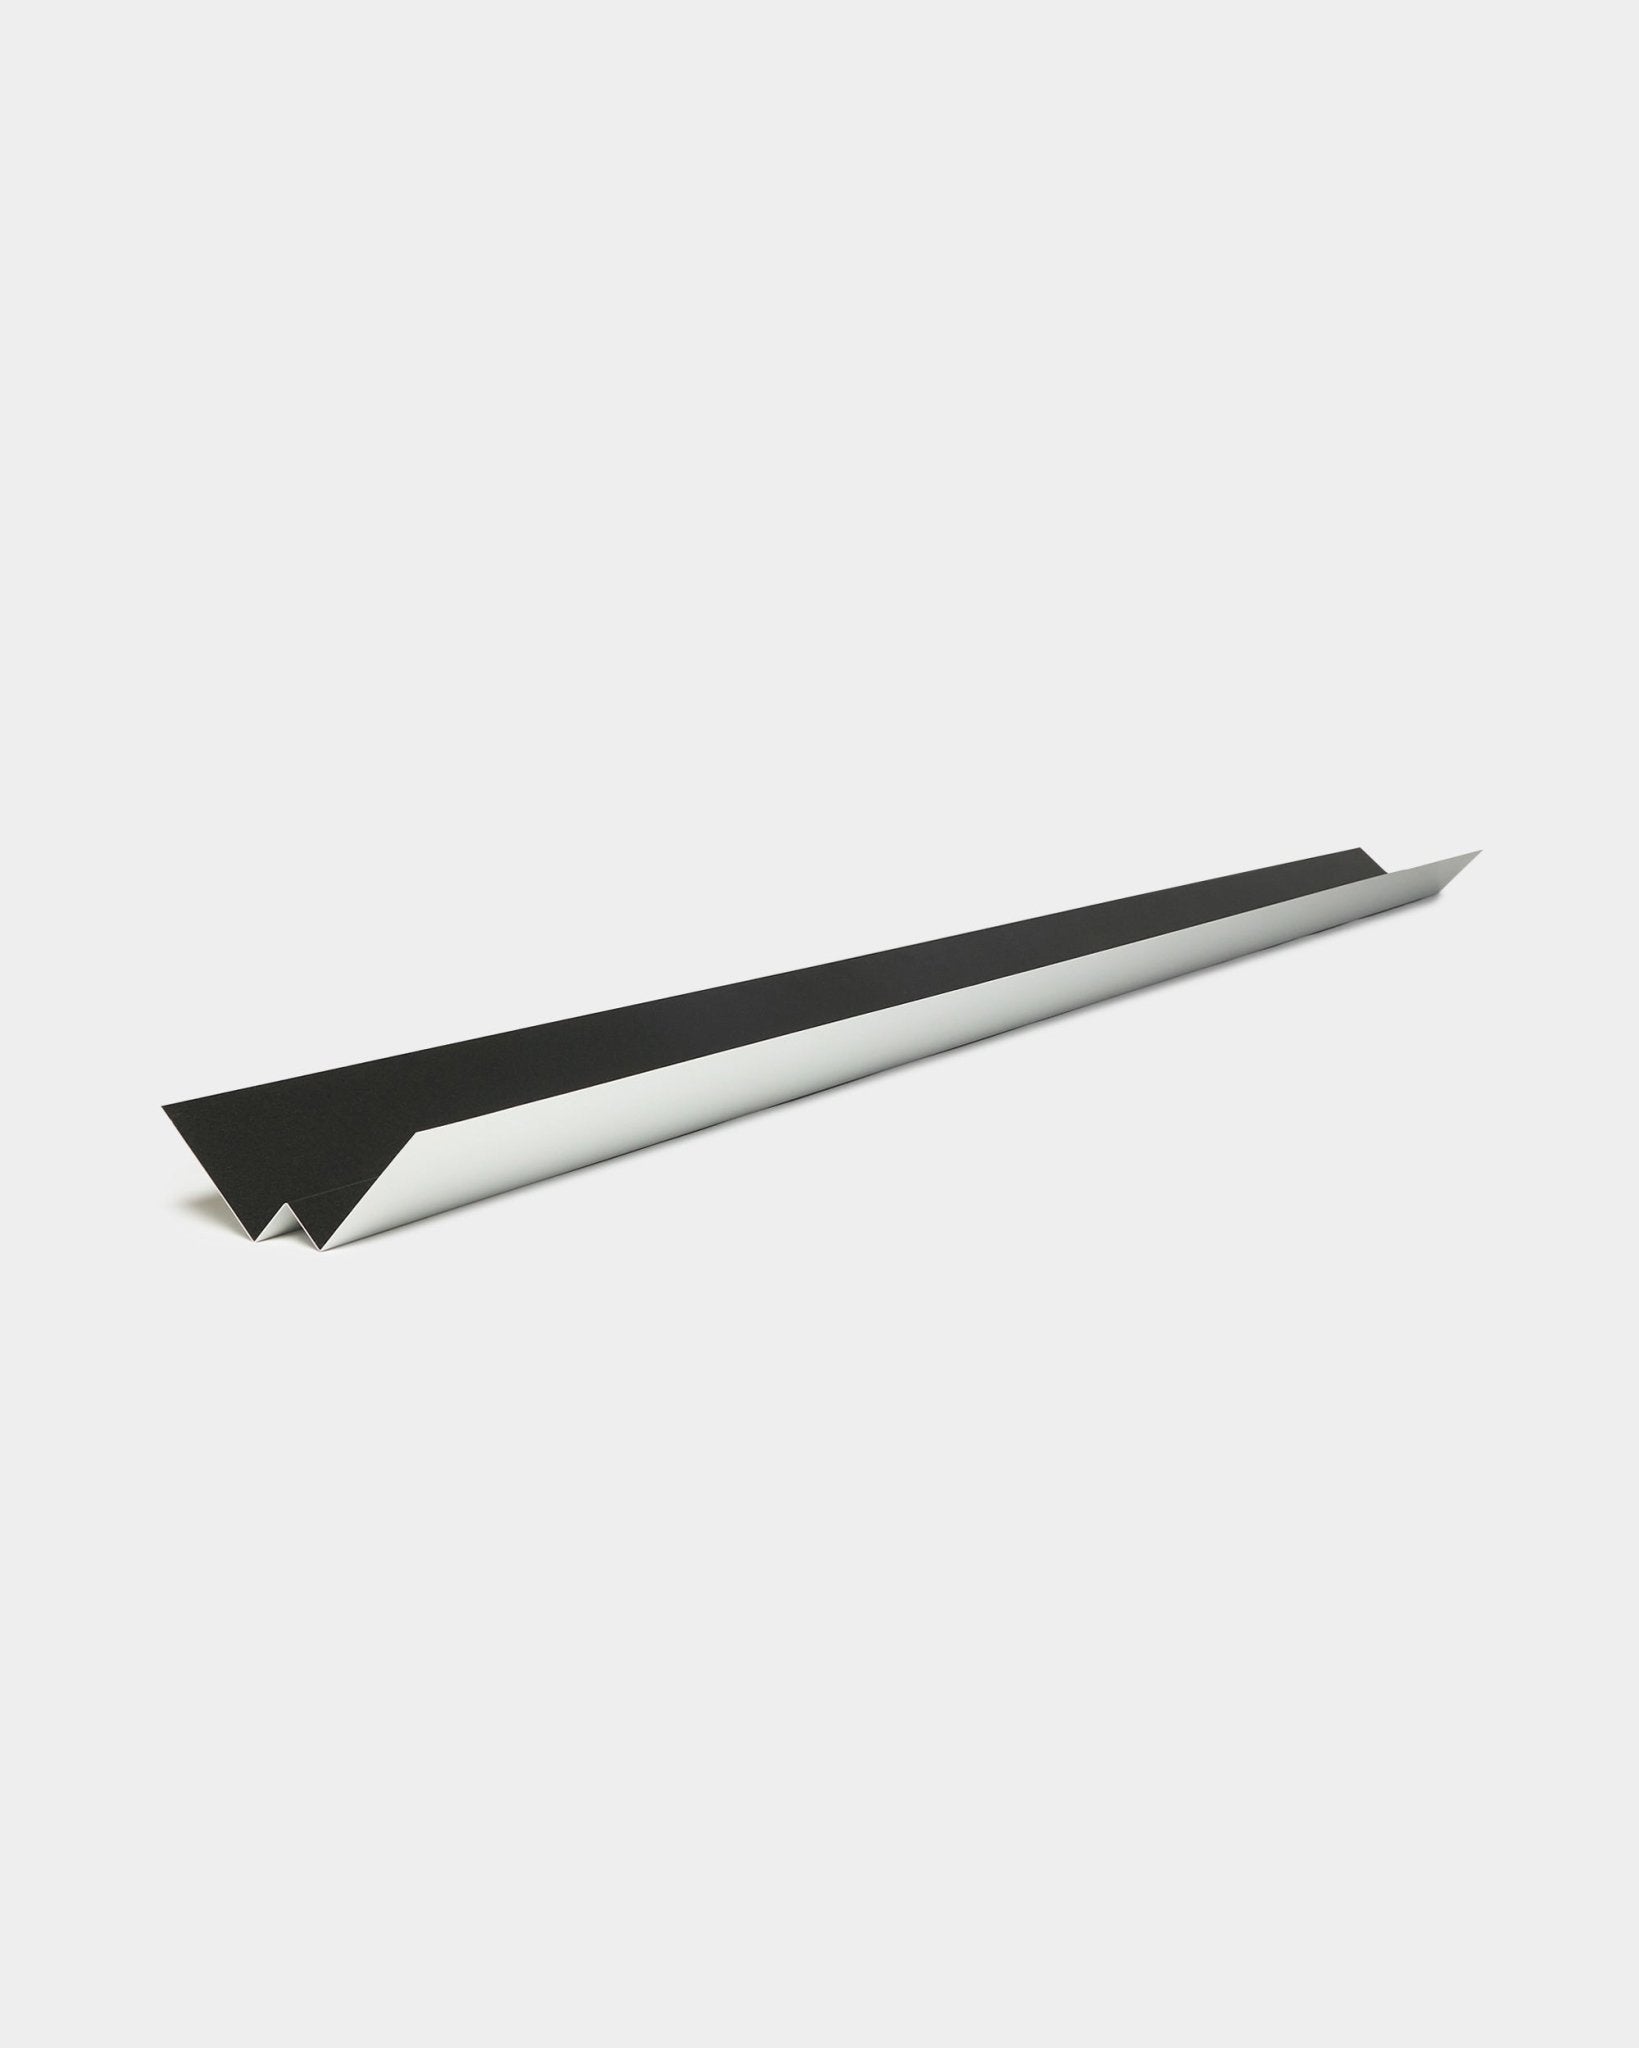
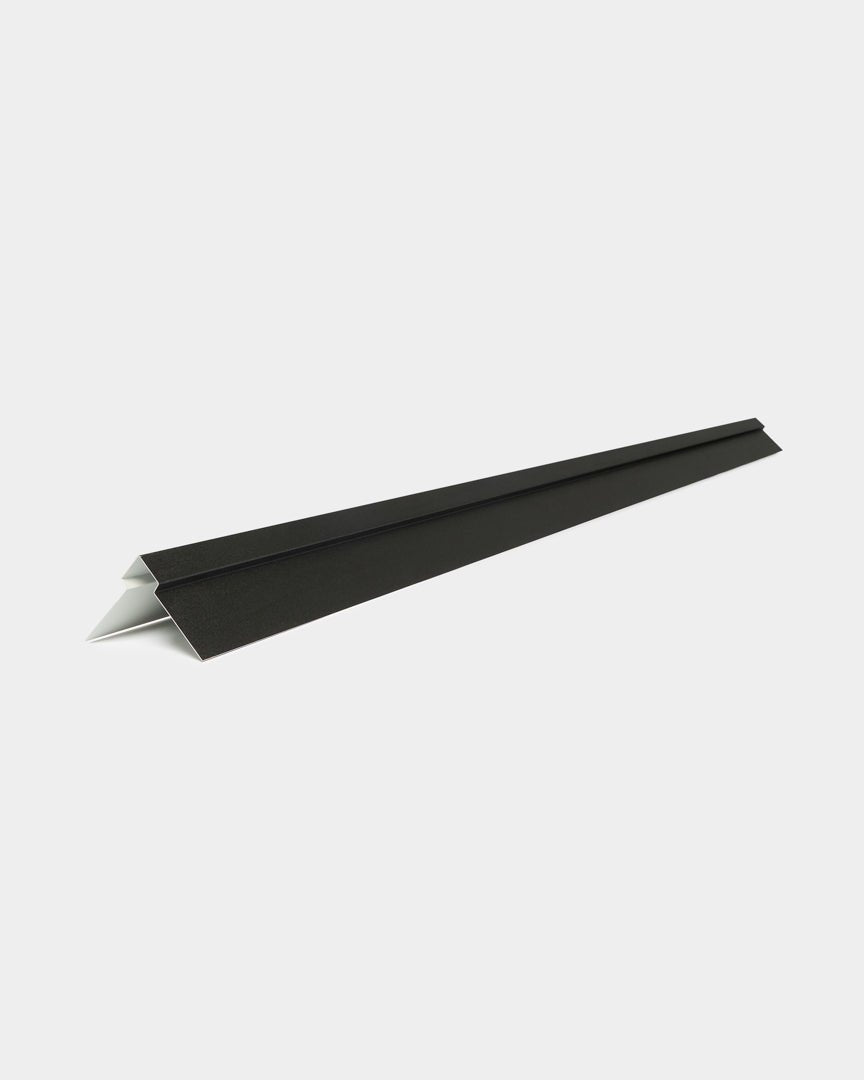
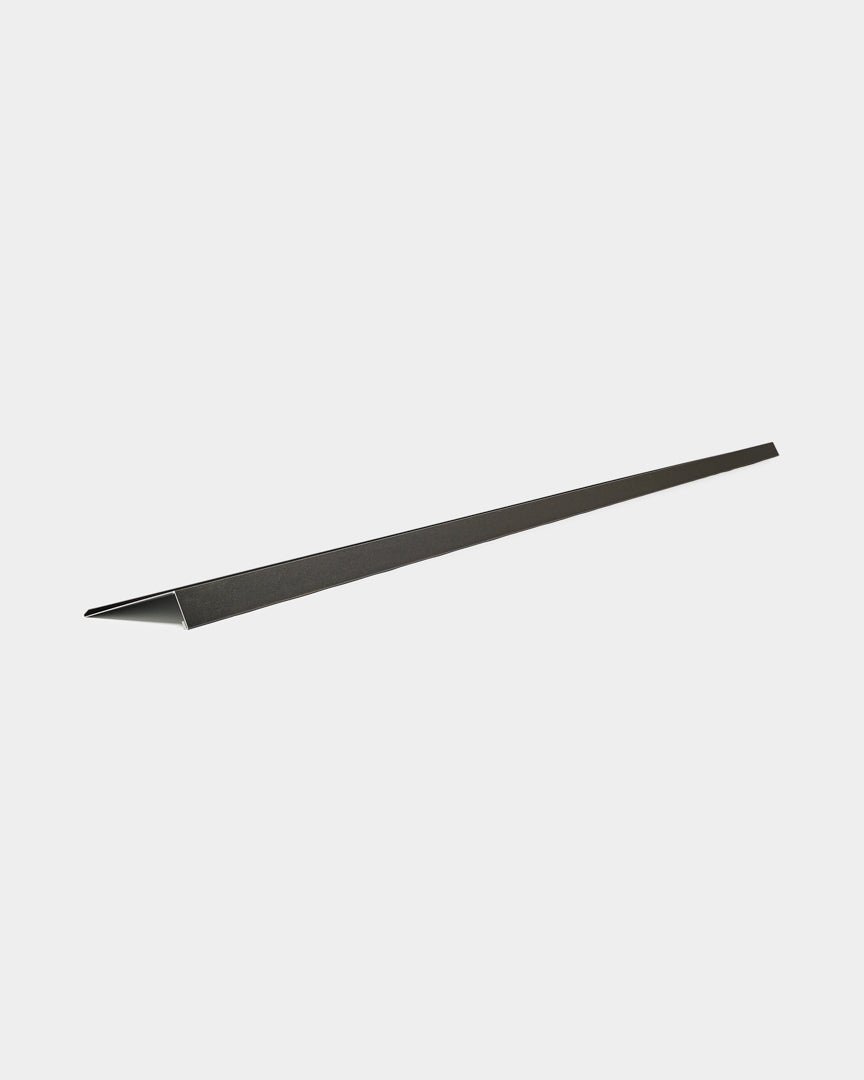
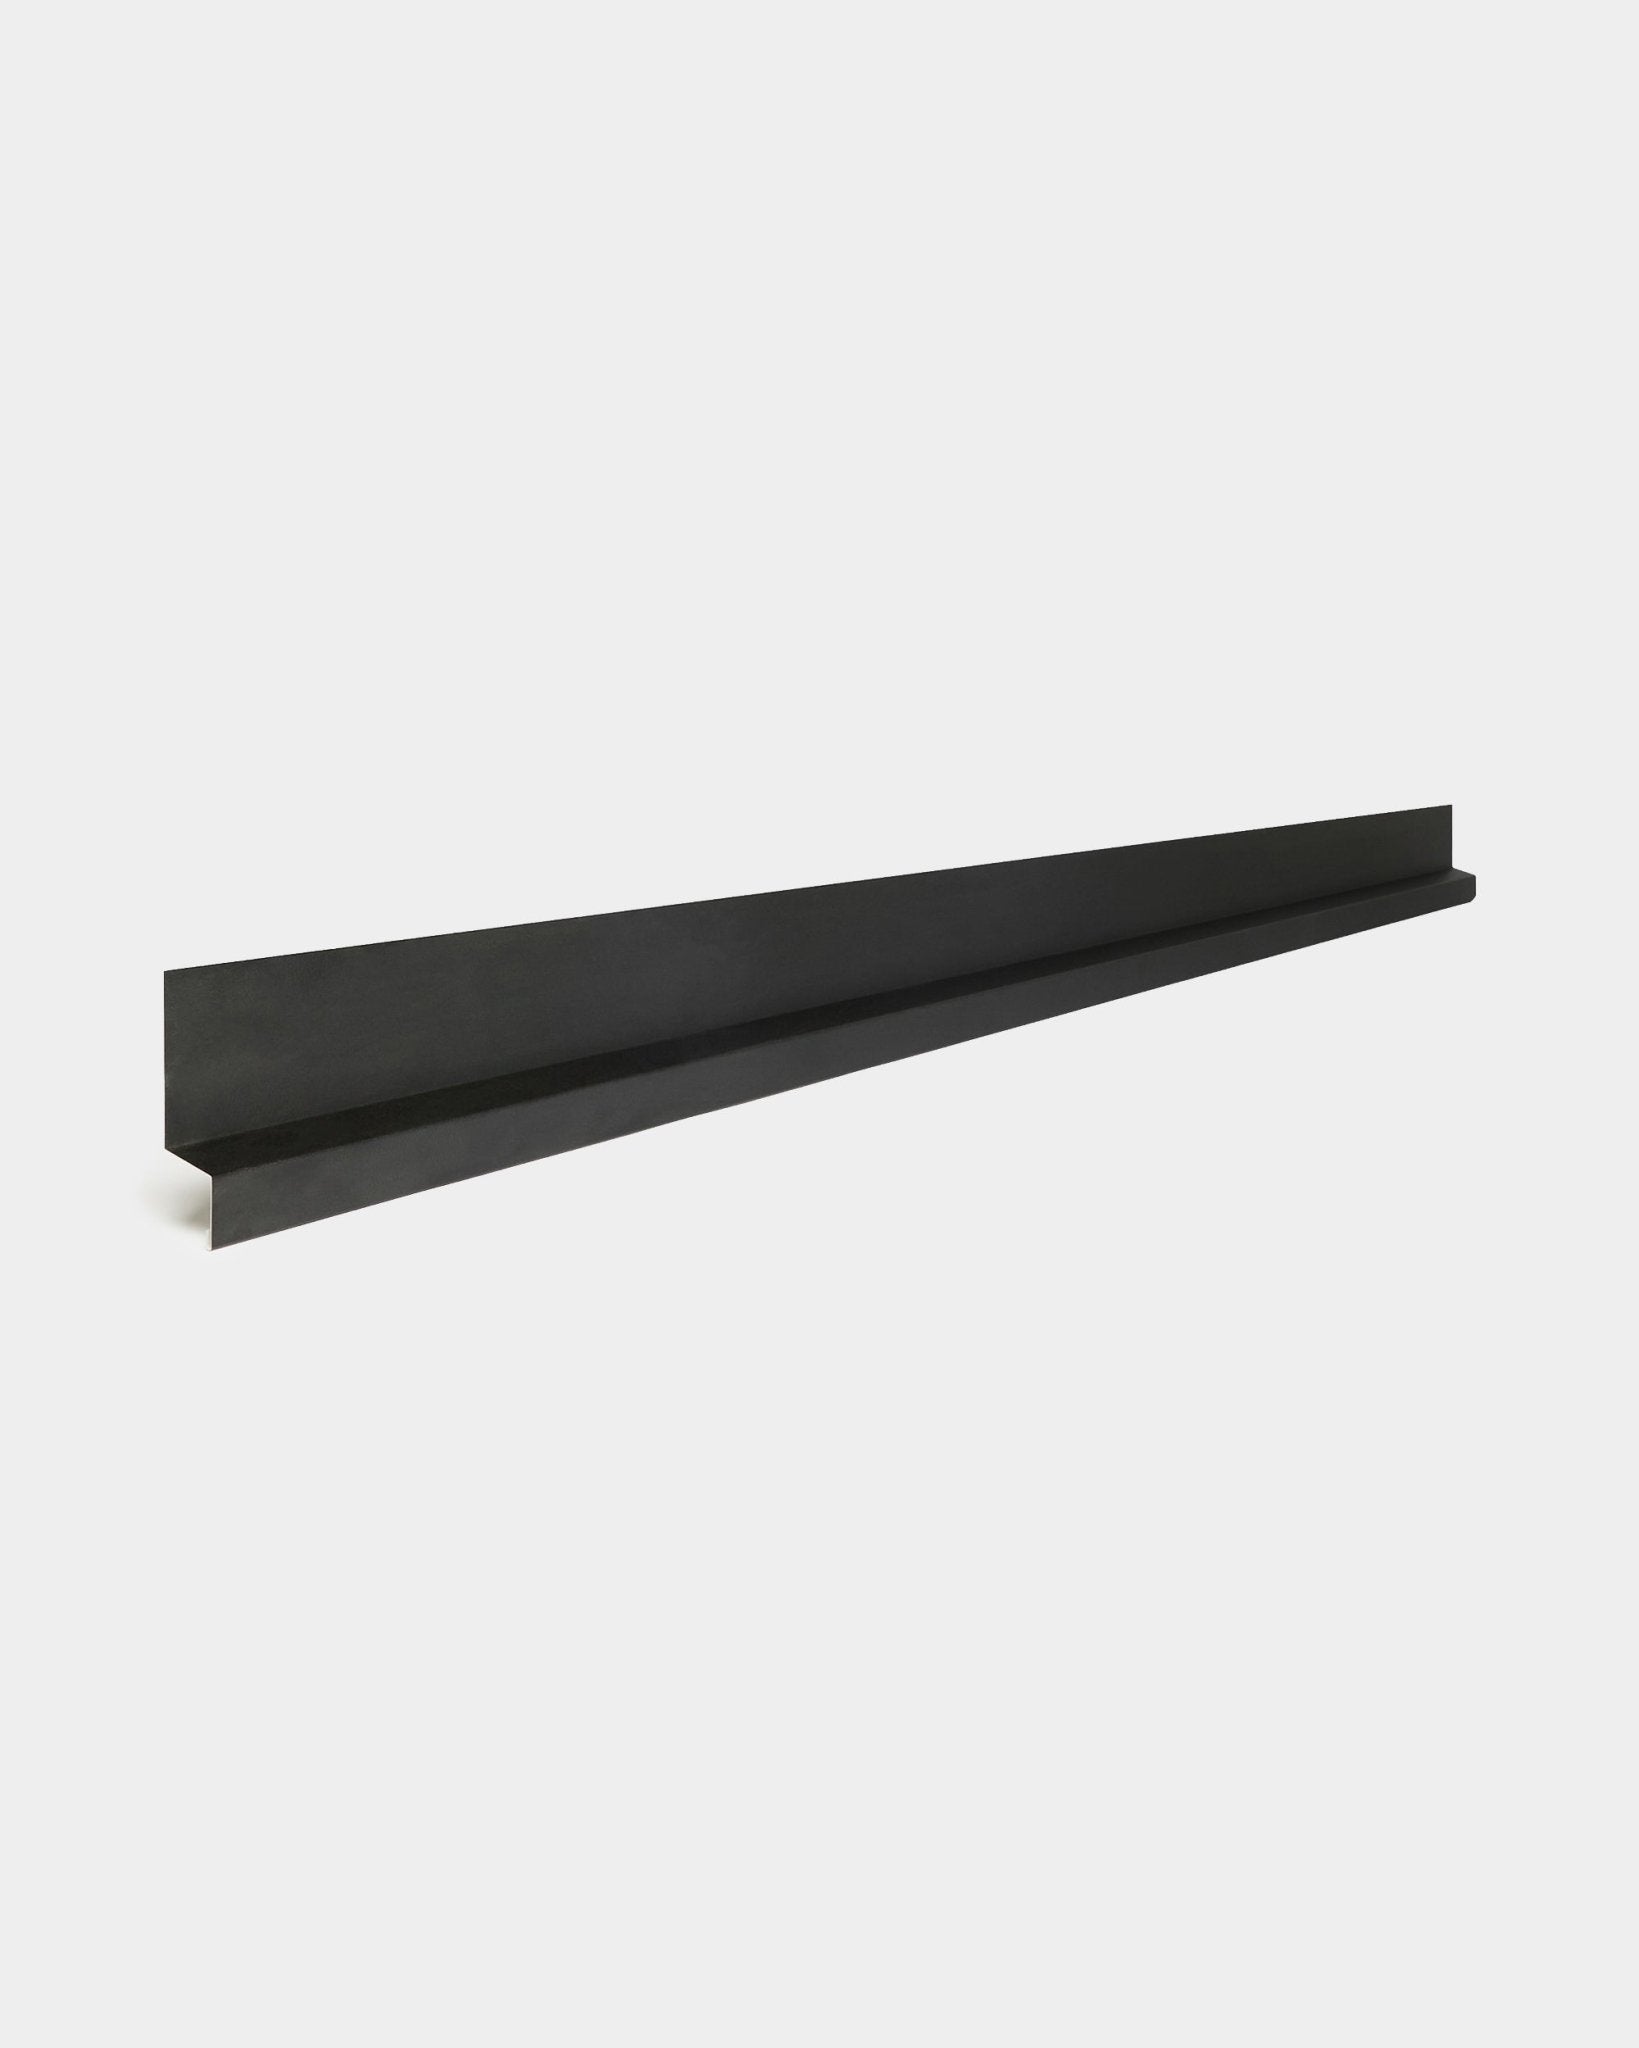
  • Aluwood flashing (optional – unless mounting around a window) (240 cm)
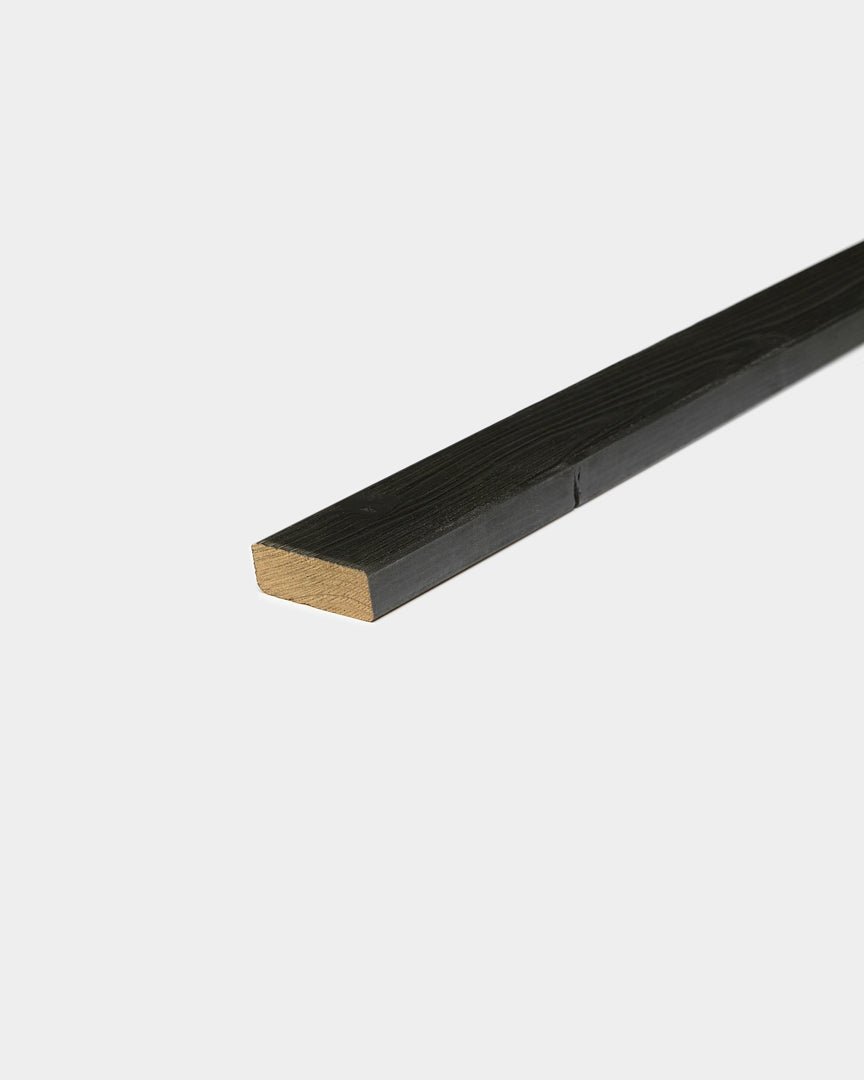
  • Aluwood trim pieces if you want a wood finish on the corners (240 x 40 x 18 cm)
  • Ruler or measuring tape
  • Pencil

Prepare your wall

Before installing Aluwood, make sure your wall is properly prepped. Start by removing any old wood so the surface is clean. Then install the wind barrier to protect the structure from moisture. Once that’s in place, add ventilation battens behind the panels — remember, the spacing between them must not exceed 80 cm.

Finally, install the insect screen to keep small animals and insects out. Not sure how? Watch the solution in the video below.

Afspil video 0:17

How to install the insect screen

Whether it’s placed at the bottom or top of the façade, the principle is the same: make sure the screen fully covers the opening to keep out small animals and insects. Secure it by screwing directly through the mesh into the ventilation battens.

Afspil video 0:24

Measure your wall

Measure your wall to determine where you want to place the panels — and whether they need to be cut to fit.

Afspil video 0:24

Cut the panels

If you need to trim the panels, use a circular saw.

Important — check the panel orientation before cutting and mounting.

Make sure you account for the direction of the panel. It has a top and bottom side. The bottom edge is angled at 15 degrees to allow water to drain off properly.

Afspil video 0:20

Secure the back of the panel

Check the back of the panel to see if additional screws are needed for stability:

Make sure the back is properly secured. If you’ve cut the panel to size, some screws may have been removed. If that’s the case, use our inner screws to reattach any loose spots so the back is fully stable.

Afspil video 0:22

Mark where the screws should go

For a clean and consistent look, draw a straight line on the panel as a guide for screw placement.

Afspil video 0:15

Install the panels

Make sure the 15-degree slope is facing downward. Use our exterior screws and drive them through the aluminum sheet and into the battens. Follow your markings to keep the screw lines straight.

Afspil video 0:31

Install the next panel

When installing the next panel, place it on top of the previous one so they overlap. Watch the process in the video below. Then drive the screw through the double layer of aluminum and into the batten.

Afspil video 0:12

Continue the installation

Repeat the process, panel by panel, until the entire wall is covered.

Afspil video 0:22